It's nearly Halloween - EEEEK! Time to get crafty with the boy...
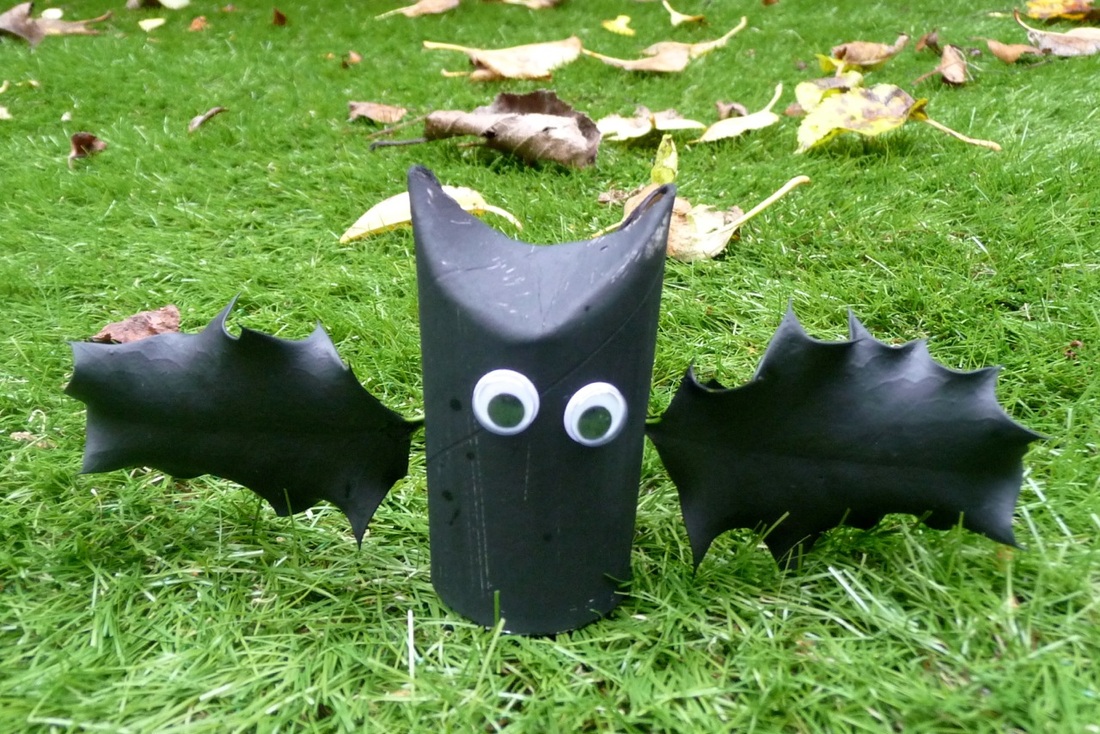
We were walking through the park the other day and I was looking at a holly bush, and it got me thinking... wouldn't they make fantastic bat wings?
So we picked some (well I picked some - Matthew wasn't keen on the prickles) and took them home. I found an old cardboard tube and cut some lengths off, folded over the tops to make ears, and then we painted everything black. One of us was more interested in painting their face and hands black. (It wasn't me.)
Once they were dry, we made some holes in the tube to poke the holly stalks through, and stuck some googly eyes on (you can rely on us to use googly eyes - every time).
They are a bit too prickly to play with, but they make fab Halloween decorations - we have three of them in a line up on a shelf in the kitchen. Looking suitably batty.
Matthew has started school (*gulp*) so we're in the strange limbo of settling-in weeks, trying to find stuff to do on our half days. This morning we took a rainy walk in the park looking for conkers and things.
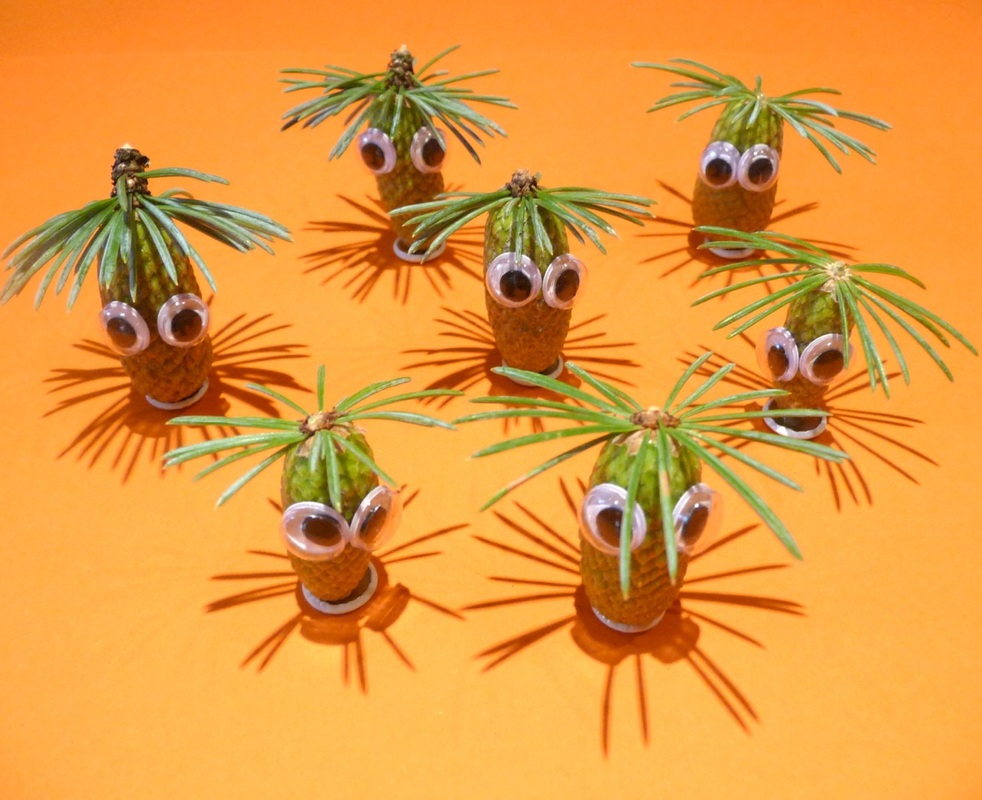
We found these baby pine cones, picked a few and discovered that when you take them off the tree a little halo of pine needles comes off with them too - how cute is that! They were just asking to have eyes stuck on. So we did. Then we got them to stand up by sticking them onto drawing pins.
They'd also make rather wonderful coconut trees, don't you think?
This is something my husband did with Matthew the other day and it kept them both amused for ages, so I thought I'd share.
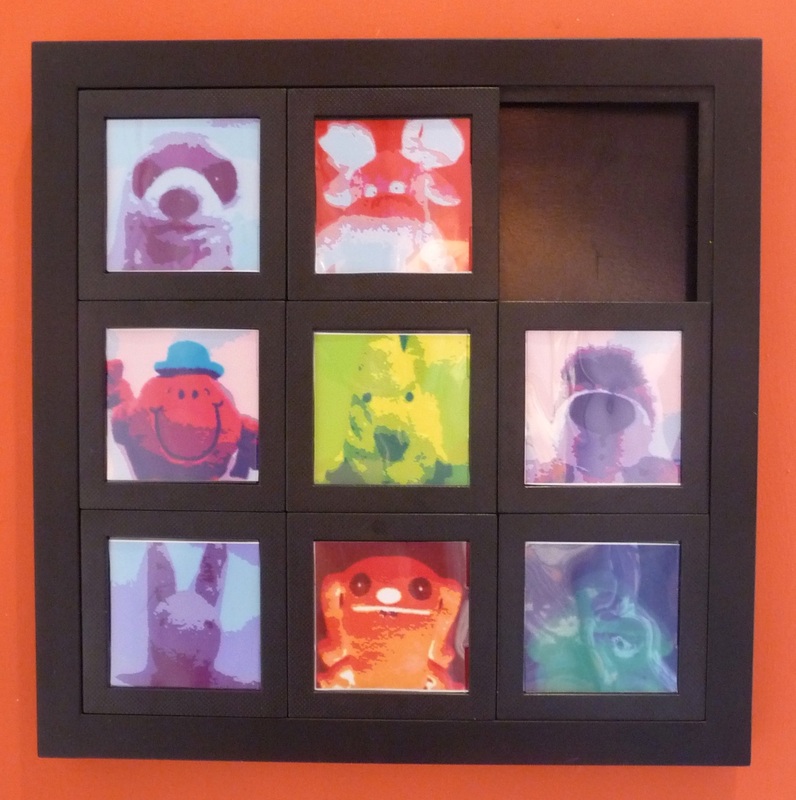
First Matthew carefully selected which toys he wanted to take photos of, then they arranged them and took the photos. Next they edited them with different colour effects, then printed and trimmed them, and put them in the frame. Plenty there to engage small people.
We happened to have this slide puzzle picture frame knocking about (and that works really well for added interactivity) - but any frame would do and they would also make good cards.
We have it up in our kitchen but I'm thinking of doing something similar for Matthew's bedroom because he loves it so much.
We were back at The Little House in the Park on Friday, celebrating the summer solstice with some seriously sunny crafts.
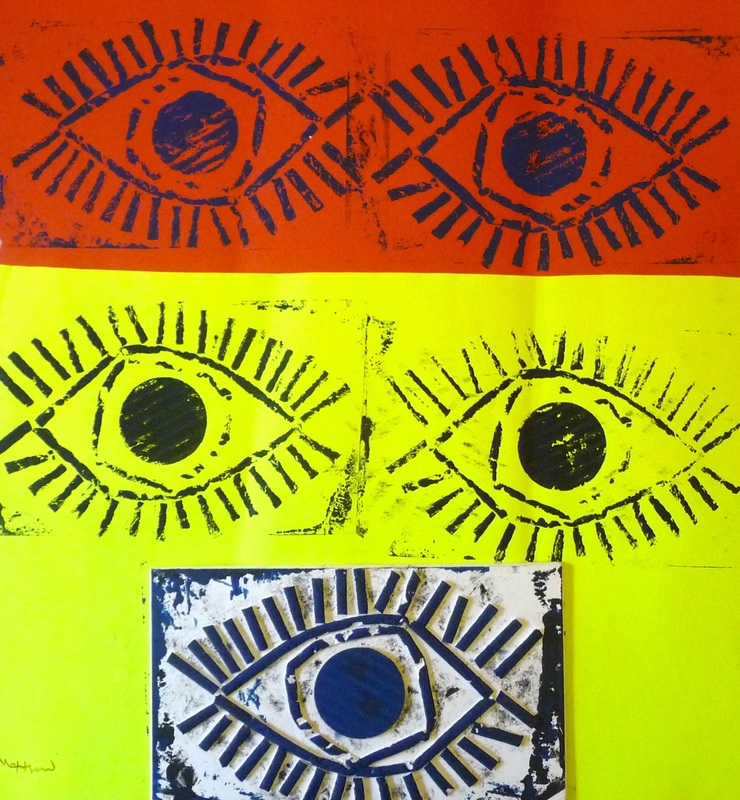
First we used fabric paints and pens on yellow t-shirts to make summer tops. Sorry, you really can't see in this picture but think yellow/orange/red paints with printing blocks of suns etc and you get the idea. All the kids loved doing their t-shirts - so easy to do. Just a shame I let Matthew wear his later when he was eating spaghetti bolognese for tea... *sigh*
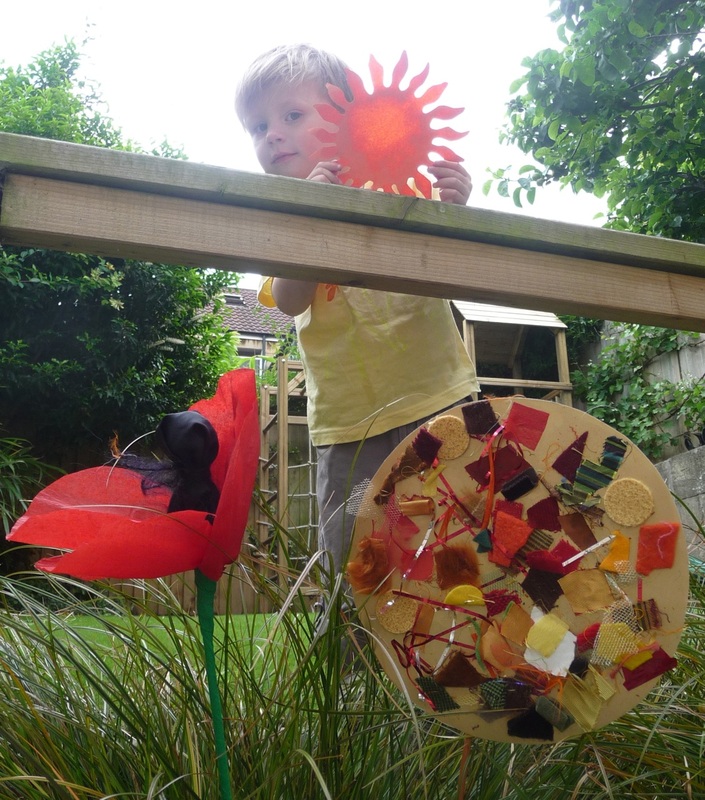
The collage on a stick is meant to be the sun (clearly). It would have worked better if I'd cut the gold card into more of a sun shape first but frankly I was just feeling too lazy.
To make the poppy, first we got a cotton wool ball and spiked it on top of a willow stick. Then we wrapped some black material over it with a rubber band, and tied some wispy bits of black wool around for the stamen. The petals are four pieces of red crepe paper, sort of stretched at the top and taped at the bottom. Then we got a long thin strip of green crepe paper and wound it round and round the stick to make the stalk. Looks pretty good, I think.
But my favourite thing is the simplest - the oily sun that Matthew's holding up. We cut sun shapes out of orange sugar paper and then just painted oil onto them - not all over but in dabs. When you hold it up to the light it's so effective - you can just about see in this pic. Now I'm trying to think what else might work well using this oily technique. Hmm... Any ideas?
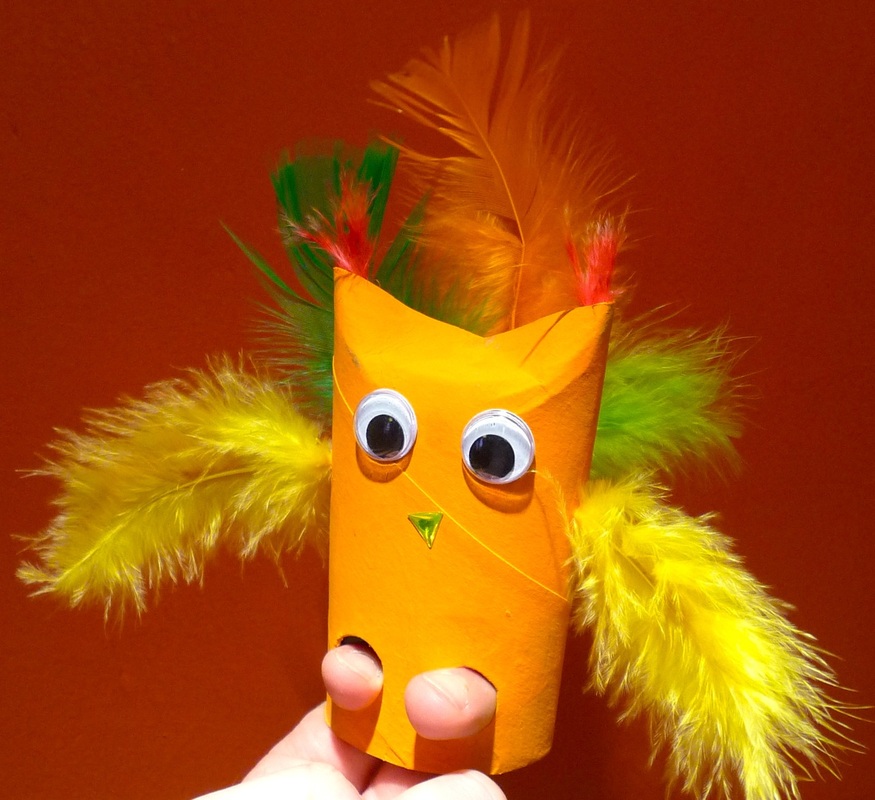
I've been trying to think of more loo roll craft ideas, and have come up with this nice easy project - a bird finger puppet.
Dead simple - take your loo roll and bend the edges of one end over, to make the ears. Then cut finger holes at the other end. After painting, stick on eyes and nose of your choice (I would have made a big pointy beak out of card or something, personally, but Matthew wanted to use a jewel sticker, and it is his puppet after all), and then add feathers (we made holes and pushed them in).
Here are some other ideas for loo roll finger puppets...
- other animals: lions, rabbits, dogs, jellyfish would work particularly well
- monsters: you could really go wild here and stick all kinds of bits and pieces on to make fantastical creatures
- robots: add the finishing touch with silver foil or silver paint

 RSS Feed