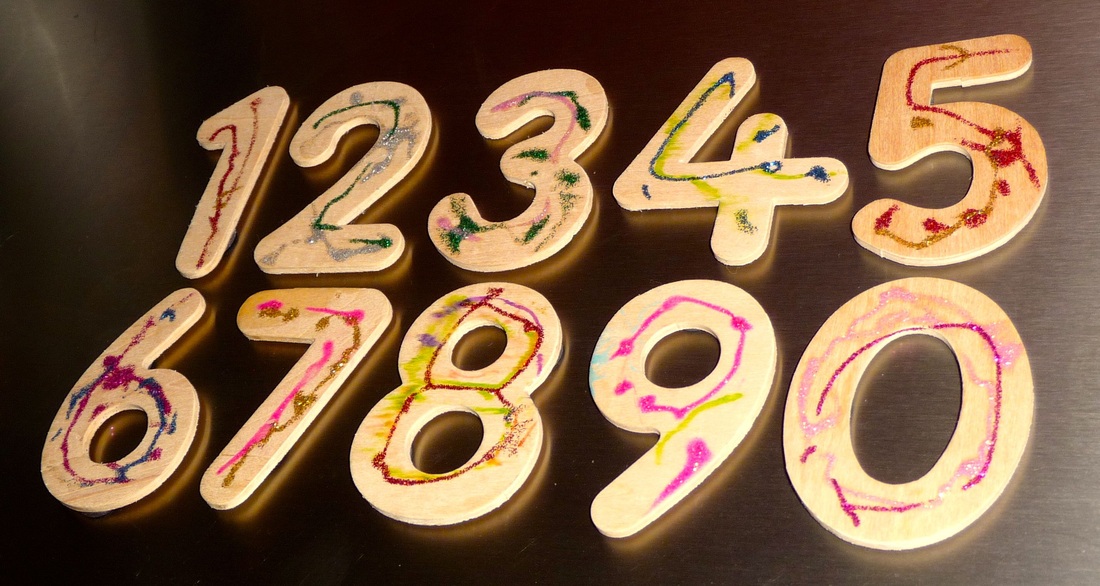
These fridge magnets are a nice easy craft project for a rainy day (and we're not short of those at the moment).
You'll need a set of pre-cut wooden numbers and a pack of small self-adhesive magnets (both available at art/craft-type shops). Then... well just decorate the numbers however you like, let them dry, then stick the magnets on the back (we found we needed two or three per number to make them properly magnetic enough to hold the weight). Here are some ideas:
Glitter glue - this is what we did - two contrasting colours per number for added effect.
Fluorescent paint - to make funky glow-in-the-dark fridge magnets.
Googly eyes - paint the numbers and stick on eyes to make little people or animals.
Sticky jewels - use the self-adhesive kind for a completely mess-free project.
It was the last session of term at The Little House in the Park yesterday and we are now officially Christmas-crafted out.
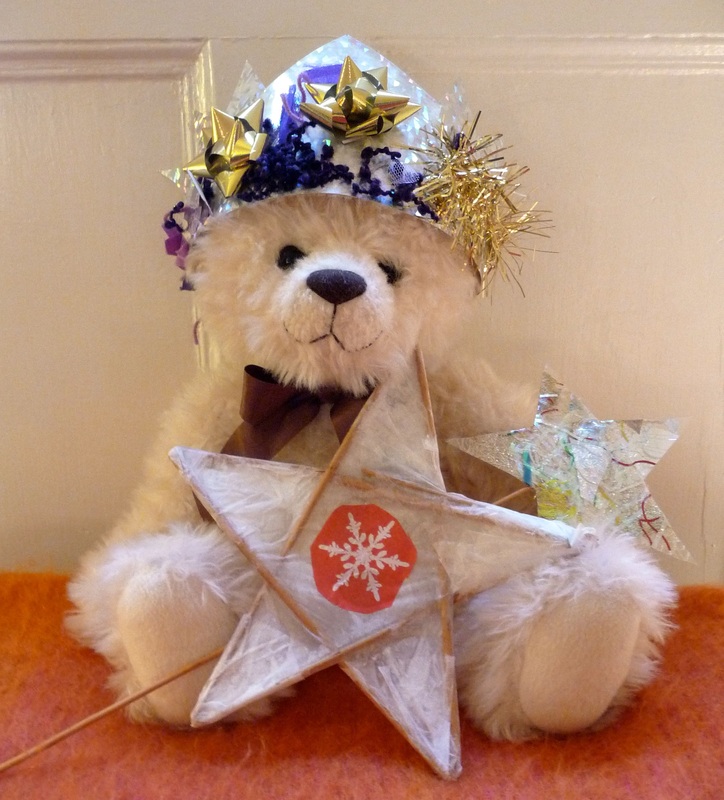
First we made a festive crown by sticking sparkly bits onto silver card. Matthew really enjoyed doing this, and chose a purple and gold theme which I thought was pretty tasteful for a 3-year-old. He never likes wearing these things, though, so Basil has been crowned Christmas Bear.
Then we made a wand from laminated bits and bobs cut into a star shape and taped onto a stick, and a Christmas star decoration from white tissue paper glued over bent willow. There was all kinds of glitter etc to stick on top, but Matthew insisted on just one red and white thing - which proves there is Danish blood running through his veins.
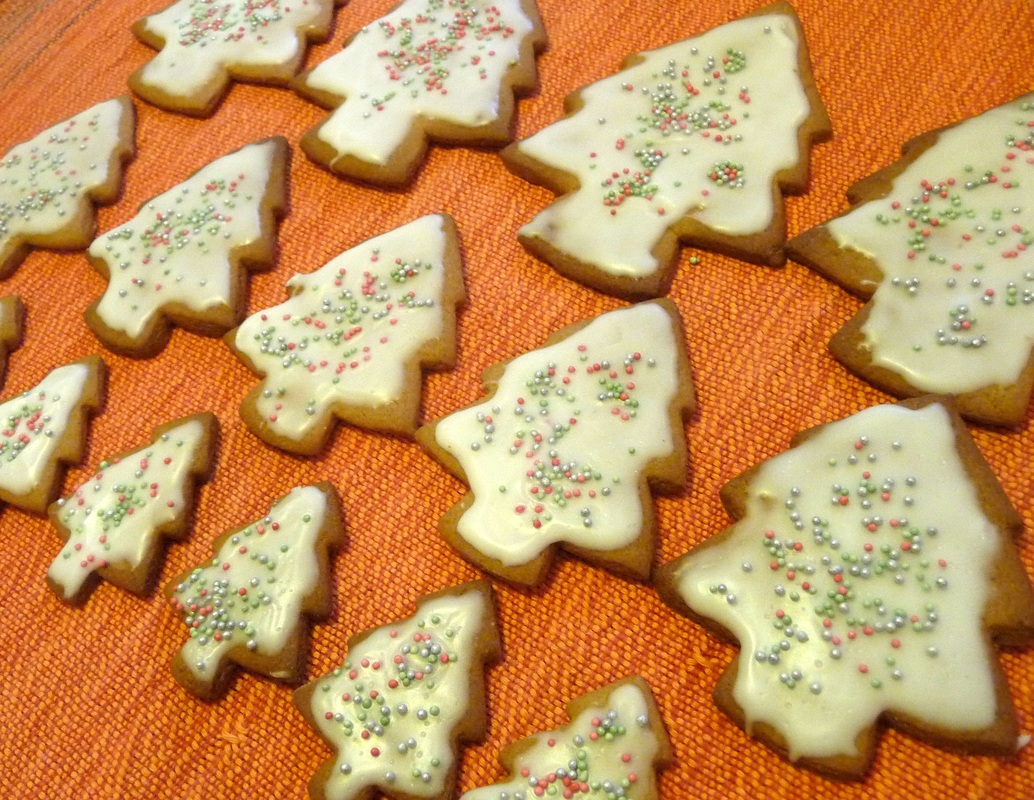
These look very much like they were made by a child, don't they? Slightly rubbish. Or maybe an adult and child together. Well actually they are my own work (thank you).
I was pushed for time to get them made so that I could give them to people this week, so decided to do the baking bit while Matthew was in nursery. I thought he could do the sprinkles when he got home - but he was too tired to even do that. He was too tired to even eat one. Sigh.
I'm going to tell everyone that he helped anyway. Otherwise WHAT IS THE POINT?
Things are getting seriously Christmassy at The Little House in the Park.
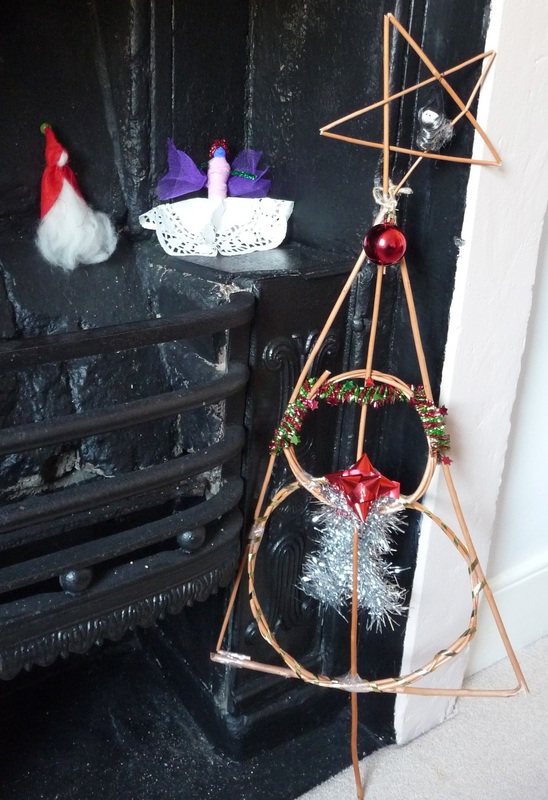
Matthew was really taken by the willow Christmas trees so we made one of those first. Most of the hard work (cutting and bending into shape) had been done for us, so all we had to do was assemble all the bits, tape them together and then decorate with tinsel, bows, ribbon and various baubles and other dangly things.
Next we made the gnome. Well - I made the gnome. Matthew mostly messed around with the jar of beads and kept trying to swipe the needles off me. It's just a piece of felt cut into shape, sewn up along the neck and hat, and stuffed with wool.
You can't really see just how very funky the angel is in this pic. She has a blue face, green arms, a pink body, purple wings and red tinsel hair. All chosen by Matthew. The skirt is a doily (obviously). We're getting our tree today and she might just have to take pride of place.
We're meeting up with a load of friends and their families on Sunday for our annual Christmas get together. There will be something like 18 children - mostly smallish - running amok in a room above a pub in Bristol. All afternoon.
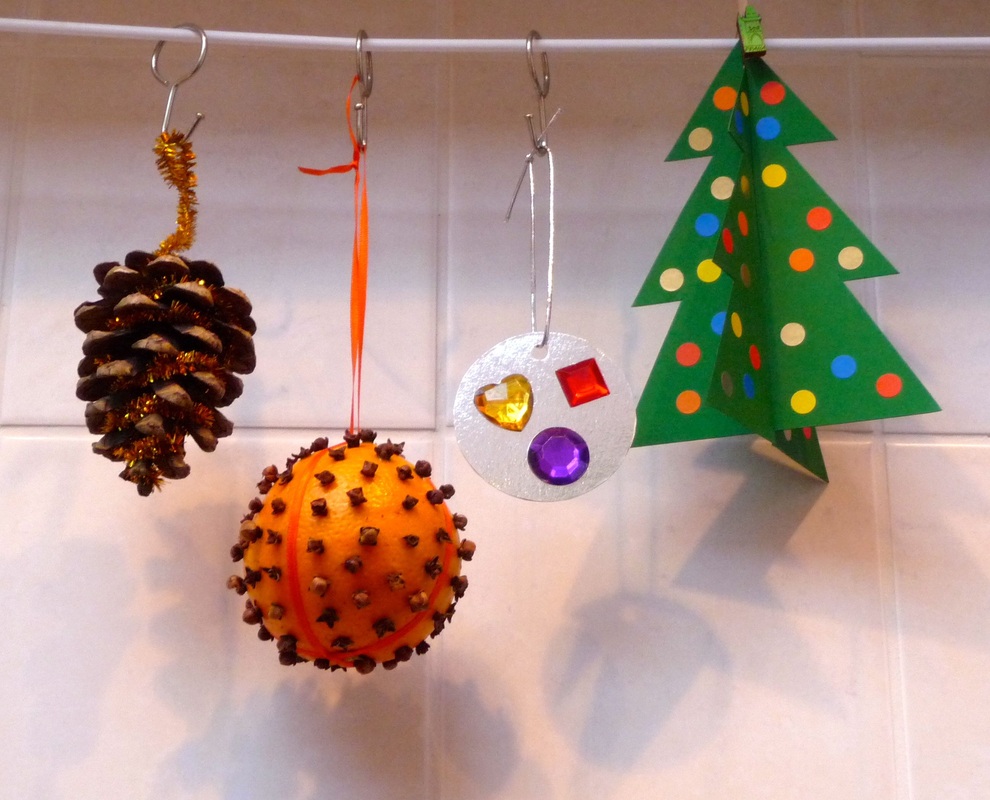
I've volunteered to bring some crafty things to keep them entertained, so have been racking my brains to come up with non-messy projects that don't involve glue or paint. Here they are:
Glittery pine cones - we collected loads a couple of weeks ago and put them in the airing cupboard to dry/open out. I've bought a big bag of tinsel pipe cleaners (who knew these even existed? My life has been transformed), which can be wound round to make tree decorations. Easy.
Pomanders - one for the older kids I think - when I made mine I found the cloves quite hard to push in.
2D beady baubles - I've cut out a load of circles from silver card, punched holes in them, and threaded them with silver elastic. The kids can go wild decorating them with self-adhesive jewel beads and various other stickers that I've dug out.
3D Christmas trees - I've adapted this from various versions I found online. You cut out two identical Christmas tree shapes from green card and then cut slits in the middle (from bottom to middle on one and from top to middle on the other). Then you put stickers all over both sides - I've gone for a dotty/bauble theme here - and slot them together.
I'm also bringing a pack of paper chains, and a load of black card with metallic crayons (I don't know why that feels Christmassy. It just does).
Wish me luck...
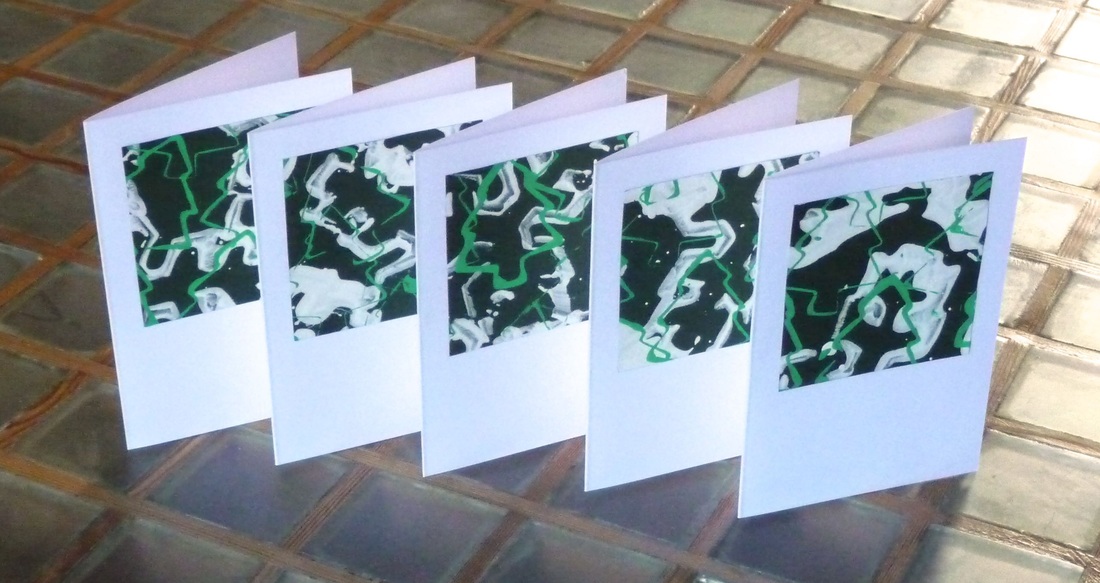
Ta-dah! Homemade Christmas cards this year. (I am turning into Kirsty Allsopp.)
I wanted to try and think of something easy that Matthew and I could make together. We bought a big sheet of dark green card and hunted out some biscuit cutters to print with. First we used a big snowflake with white paint (Matthew did all of the printing for that one), and then when that was dry we used a small Christmas tree with green paint (he lost interest with that one... plus maybe I was being a bit too controlling. Ahem).
I cut the sheet into squares and glued it onto white card. They're not quite how I pictured them, but not a bad joint effort. Who knows what added sophistication next year might bring?

 RSS Feed